Tracing Lines
Straight lines across, from picture to picture. Start at each big dot.
Created for free at puzzleandprint.com
The strokes that come before letters, from straight lines to spirals, each starting at a big dot.
Last updated
Save this to PinterestTracing Lines
Straight lines across, from picture to picture. Start at each big dot.
Created for free at puzzleandprint.com
Tracing Lines
Straight lines down. Start at each big dot.
Created for free at puzzleandprint.com
Tracing Lines
Slanted lines. Start at each big dot.
Created for free at puzzleandprint.com
Tracing Lines
Zigzag lines, from picture to picture. Start at each big dot.
Created for free at puzzleandprint.com
Tracing Lines
Wavy lines, from picture to picture. Start at each big dot.
Created for free at puzzleandprint.com
Tracing Lines
Curves. Start at each big dot.
Created for free at puzzleandprint.com
Tracing Lines
Loops, from picture to picture. Start at each big dot.
Created for free at puzzleandprint.com
Tracing Lines
Spirals. Start at each big dot.
Created for free at puzzleandprint.com
Four ready-made sets, each one PDF of every page in it. There is no answer key: a tracing sheet checks itself.
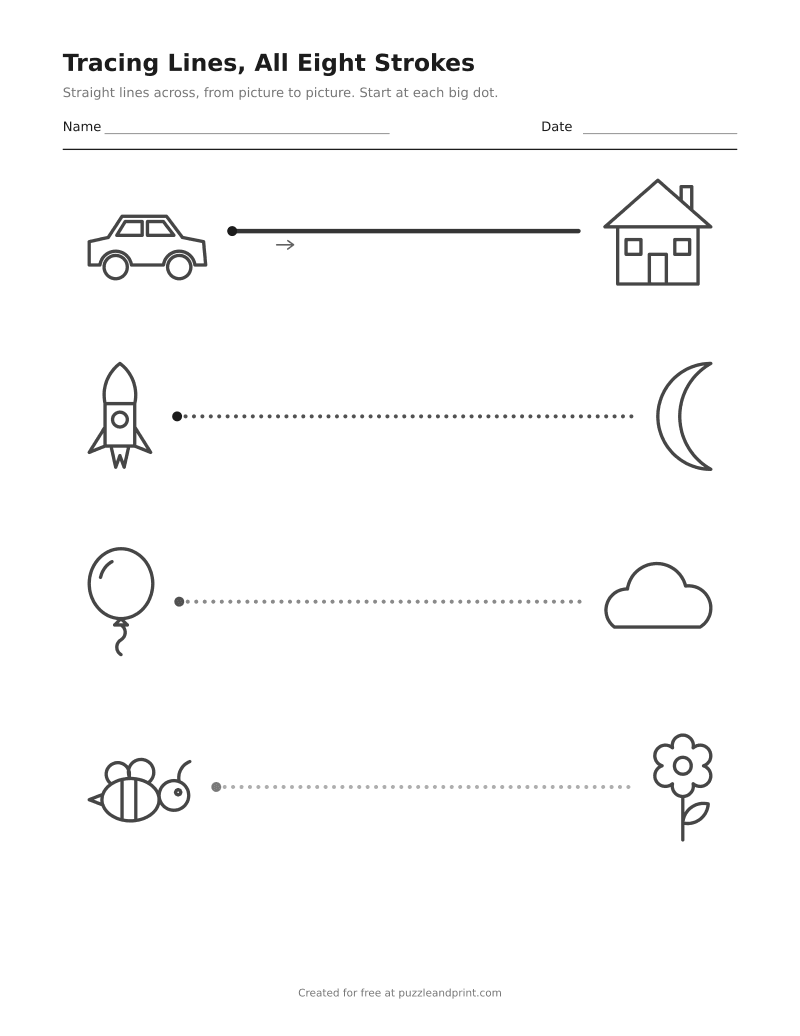 Tracing lines worksheet, all eight strokes8 pages · 1 1/8 inch tall · dottedDownload PDF ↓
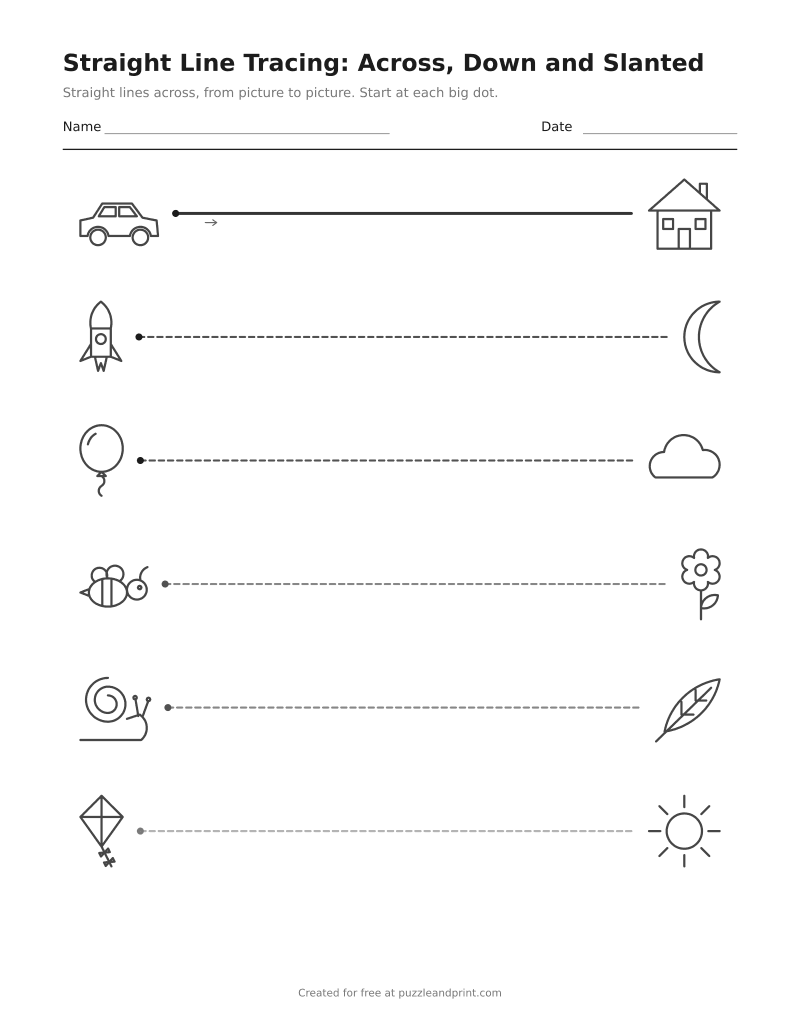 Straight line tracing worksheet, across, down and slanted3 pages · 3/4 inch tall · dashedDownload PDF ↓
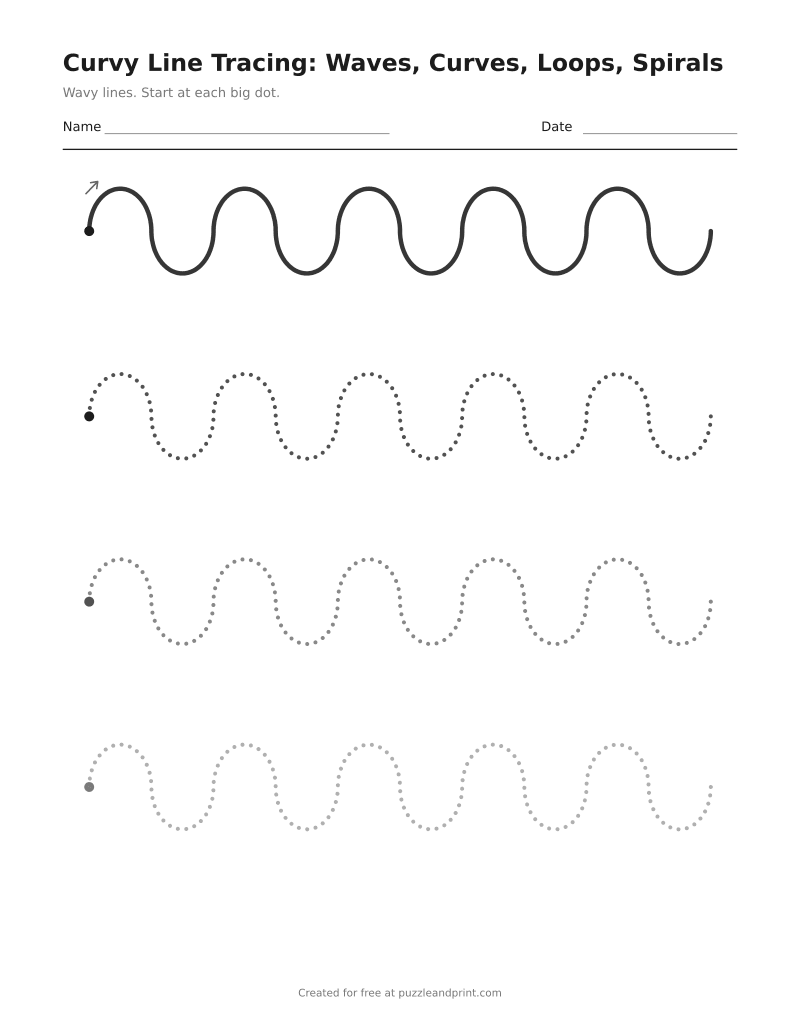 Curvy line tracing worksheet, waves, curves, loops, spirals4 pages · 1 1/8 inch tall · dottedDownload PDF ↓
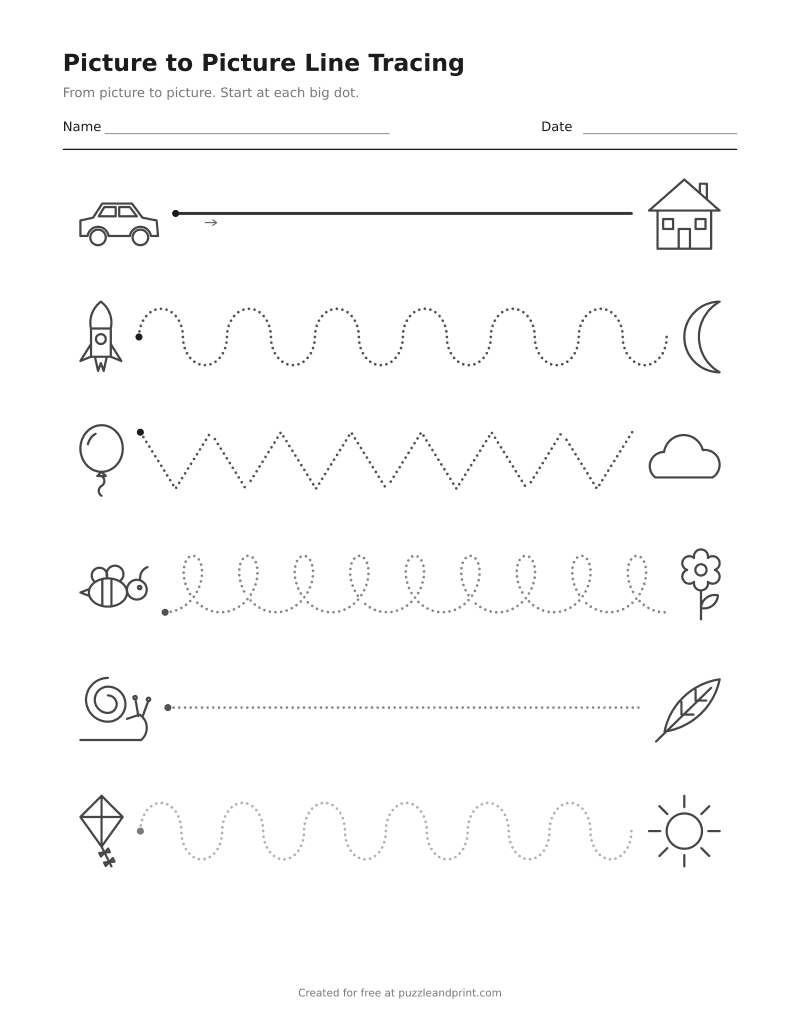 Picture to picture line tracing worksheet1 page · 3/4 inch tall · dottedDownload PDF ↓
Every sheet here is free to print as often as you like. If one saved you time, the tip jar is on Ko-fi.
These pre-writing worksheets give a child the strokes that letters are made of before the letters themselves: a line pulled straight down, a line slid straight across, slants, zigzags, waves, curves, loops and spirals. Each is printed with the same dots, start dots and arrows as the alphabet tracing sheets and sized to the capital letters at the same size: lines down, slants, curves and spirals stand exactly as tall as a capital, and zigzags, waves and loops a little shorter, so the step on to letters keeps the same scale. The pages print no writing lines, and their rows sit the same distance apart as the rows of the letter sheets.
Every stroke gets a page of its own. Lines straight across, zigzags, waves and loops run the length of each row as one line, and with pictures switched on each line runs from a small drawing at the left to another at the right: a car to a house, a rocket to the moon, a balloon to a cloud, a bee to a flower, a snail to a leaf and a kite to the sun. Lines straight down, slanted lines, curves and spirals repeat along the row instead. On these sheets the first stroke on a page, and the first of each new direction or curve, is a solid model with a small arrow beside it, and the dotted or dashed copies after it fade from dark to light as the page goes on.
The all eight strokes set is eight pages at 1 1/8 inch, the largest size, four rows to a page, with pictures at the ends of the lines across, the zigzags, the waves and the loops. The straight set prints lines across, lines down and slanted lines at 3/4 inch in dashes, six rows to a page. The curvy set gives waves, curves, loops and spirals four pages at 1 1/8 inch with no pictures, and the picture to picture page puts all six pairs on one page at 3/4 inch, with a straight, wavy, zigzag or looped line between the two pictures of each pair.
The maker above prints any one stroke, the straight three, the curvy four or all eight, at 1 1/8, 3/4 or 5/8 inch, in dots or dashes, with the pictures, the solid model, the fading and the arrows each switched on or off. The sizes stop at 5/8 inch because these pages are for children of about three to five, and at the smaller line heights a curve is too small for a hand that is still learning to hold a crayon.
Every stroke starts where a letter made from it would start. Lines down begin at the top, as l and the stick of b do, and the slanted lines are both pulled down from the top, one to the right and one to the left, the two strokes of a capital X. Lines across go from left to right through the middle of the row. The zigzag starts at the top left and slants down and up, the strokes of v and w joined end to end, and the wave starts at the middle of its left end and goes up over its first hump.
The curves come in three kinds, a row of each: a rainbow that starts at its left foot and curves up over the top, like the arch of n and m; a cup that starts at the top left and curves down and back up, like the bottom of u; and a c curve that starts just right of the top and circles back, the first movement of c, a, d, g, o and q. The spiral starts at the top and circles back too, then winds in toward the middle. The loops start at the bottom left and go up and over the top counterclockwise, the joined l of cursive pattern practice.
A line with a picture at each end gives a young child a reason to keep going to the end of it, and a place to stop. The pictures are drawn in solid gray, a shade lighter than the model and never dotted, so it is clear they are not part of what gets traced. Every line starts at a big dot just to the right of the first picture and ends just short of the second.
Six pairs come in turn: a car to a house, a rocket to the moon, a balloon to a cloud, a bee to a flower, a snail to a leaf and a kite to the sun. Each page carries on from where the last one left off, so the lines across in the all eight strokes set run between the first four pairs and its zigzag page starts at the snail. Every picture is made of circles and straight lines, like the strokes themselves, and fits inside the height of its row.
Most children manage a line down and a line across first, then a circle, then slanted lines, and the strokes that change direction as they go, zigzags, waves and loops, after those. The all eight strokes set runs the same way: lines across, lines down and slanted lines on its first three pages, then zigzags, waves, curves, loops and spirals, and the circle is on the shape tracing page. Any one stroke can be printed alone from the maker, for more practice on the one a child finds hard.
Because these strokes come before the lines. A child tracing a zigzag needs to follow the dots from the start dot to the end, not to aim at a headline and a baseline, and three rules across every row would be three more things to look at. The rows are spaced as they are on the letter sheets and the strokes are sized to the capital letters there, so the alphabet tracing sheets at the same size are the next step.
Yes. Switch Pictures at the ends to Off in the maker and the lines across, zigzags, waves and loops run the full width of the row instead. The curvy set on this page is printed that way. The picture to picture choice always keeps its pictures, since they are the point of it.
New printables when they go up, mostly seasonal, a few times a year.