Cutting Practice
Short straight lines. Cut from the scissors and stop at the picture.
Created for free at puzzleandprint.com
Four free printable cutting practice sets: all nine pages in order, from short straight lines to a spiral and five shapes, and three shorter sets for the harder cuts.
Last updated
Save this to PinterestCutting Practice
Short straight lines. Cut from the scissors and stop at the picture.
Created for free at puzzleandprint.com
Cutting Practice
Long straight lines. Cut from the scissors all the way across.
Created for free at puzzleandprint.com
Cutting Practice
Zigzag lines. Cut from the scissors all the way across.
Created for free at puzzleandprint.com
Cutting Practice
Wavy lines. Cut from the scissors all the way across.
Created for free at puzzleandprint.com
Cutting Practice
Round curves. Cut from the scissors all the way across.
Created for free at puzzleandprint.com
Cutting Practice
Lines with square corners. Cut from the scissors all the way across.
Created for free at puzzleandprint.com
Cutting Practice
A spiral. Cut from the scissors round and round to the dot.
Created for free at puzzleandprint.com
Cutting Practice
Circle, square and triangle. Start at the scissors and cut all the way round.
Created for free at puzzleandprint.com
Cutting Practice
Star and heart. Start at the scissors and cut all the way round.
Created for free at puzzleandprint.com
Four ready-made sets, each one PDF of every page in it. There is nothing to check afterward: a page is done when its strips and shapes have come away.
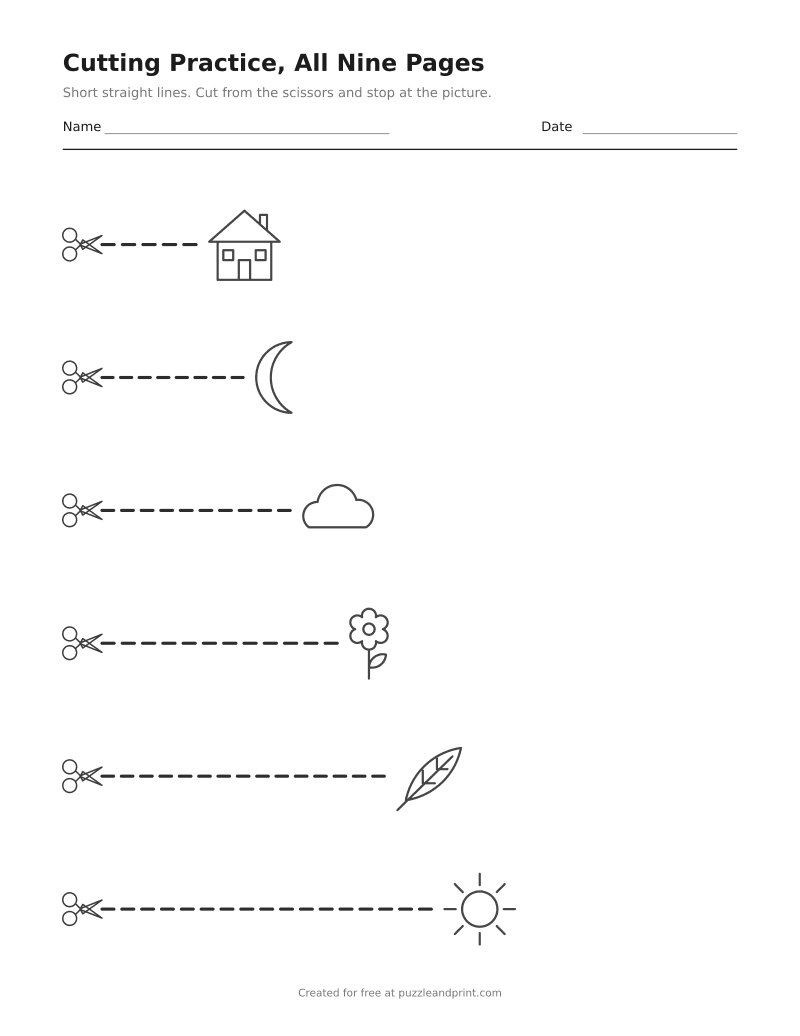 Cutting practice worksheet, all nine pages, in order9 pages · cuts at least 1 inch apartDownload PDF ↓
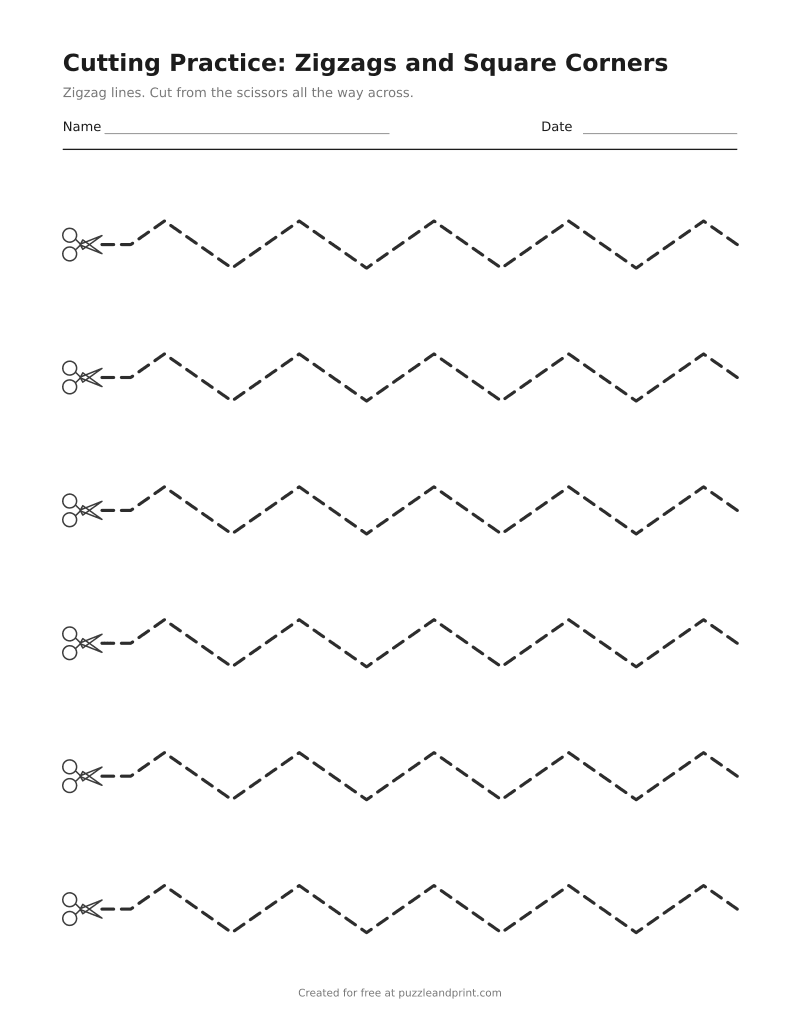 Cutting practice worksheet, zigzags and square corners2 pages · cuts at least 1 inch apartDownload PDF ↓
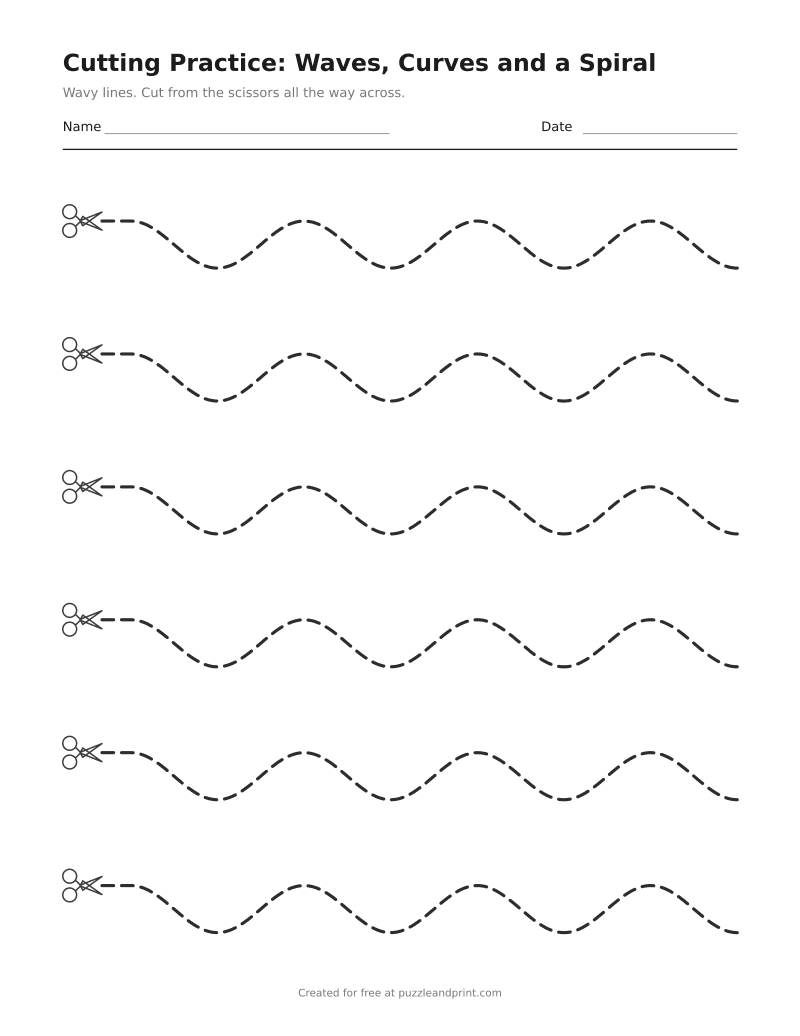 Cutting practice worksheet, waves, round curves and a spiral3 pages · cuts at least 1 inch apartDownload PDF ↓
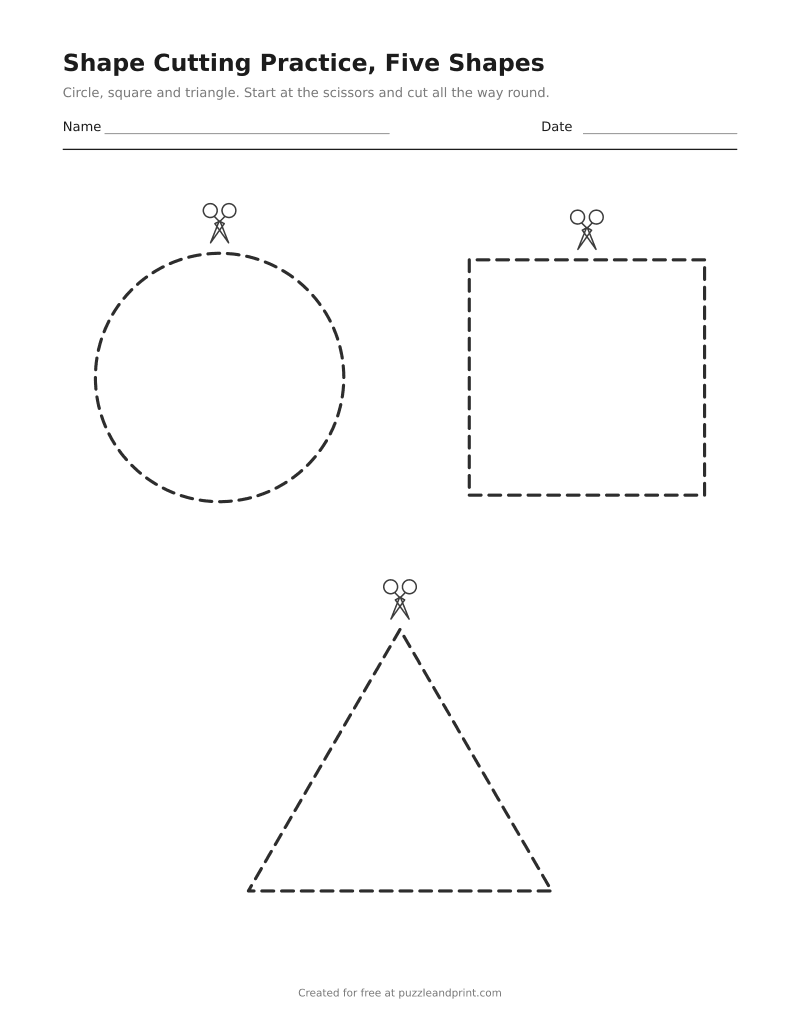 Shape cutting practice worksheet, five shapes2 pages · cuts at least 1 inch apartDownload PDF ↓
Every sheet here is free to print as often as you like. If one saved you time, the tip jar is on Ko-fi.
Every cut on these sheets is a thick dashed line with a small pair of scissors drawn where it starts, and no two cuts come closer than an inch anywhere on a page, so the strip of paper between them stays wide enough for a small hand to hold while the other hand works the scissors. The lines all start at the left of the page, so a child cuts in from the edge of the paper to reach the scissors, and every page prints in gray with no frame, under a title, one line saying what to cut and a Name and Date line.
The nine pages follow the order children usually learn to cut in. Six short straight lines come first, the shortest an inch long and each half an inch longer than the last, every one stopping at a small picture; then six long lines right across the page. Zigzags with gentle points come next, then waves, then round curves that swing half a circle one way and half a circle back, then lines with square corners, where the paper has to be turned at every corner. The spiral is one long cut from the outside in, three laps an inch apart, and the last two pages are shapes to cut out: a circle, a square and a triangle, then a star and a heart.
The first set is all nine pages in one PDF. The other three are the parts that take longest to learn, for a child who needs more of one kind before moving on: the zigzags and square corners on two pages, the waves, round curves and spiral on three, and the five shapes on two. Each shape is between two and a half and three and a half inches across, and the star and the heart are the same plump star and heart as on the shape tracing page, so a child who has traced them has seen them before.
The maker above prints any one of the nine pages alone, or any of the four groups, as one PDF to print as many times as needed. Cut lines come in one size and one style, so the tracing settings for line size, dots, fading and arrows are hidden while Cutting practice is chosen; a title of your own can still go at the top of every page.
Use child-sized scissors with rounded tips, and stay with a child the whole time they are cutting. Show the grip before the first snip: thumb in the top loop and fingers in the bottom one, the thumb pointing up and the elbow close to the side. The other hand is the helper. It holds the paper by the strip being cut and turns it, so the scissors keep pointing away from the child while the paper moves.
Ordinary printer paper works for every page. A heavier paper, if the printer takes it, makes a stiffer strip that flops less over the blades, which helps a child who is just starting. The pages print in gray with no color, so a sheet that ends the morning as a pile of strips has cost little to print.
Start with the short lines whatever the age, since stopping at a picture is where the control comes from, and move on when a child can stay close to the line, not when every cut is perfect. As rough guidance only, many children snip paper at around two and a half to three, cut along a straight line at three to three and a half, follow a curve and cut out a circle at about four, a square between four and a half and five, and harder shapes such as a star from about five. Children vary widely, and going back a page is as useful as going on.
Zigzags come before the waves because each point is a short pause and a small turn, where a wave turns all the time. Square corners come after the curves because the paper has to be turned a quarter of the way round at every corner, with the scissors stopped. The spiral asks for turning without a stop the whole way in, which is why it comes just before the shapes.
Child-sized safety scissors with rounded tips that still cut paper cleanly, since a pair that folds the paper instead of cutting it makes every line harder. A left-handed child needs left-handed scissors, whose blades are the other way round so the line stays in view. However safe the scissors, stay with a young child the whole time they are cutting, and put the scissors away afterward.
At least an inch everywhere, measured as the nearest any two lines come rather than only where they are level. The long straight lines are almost an inch and a half apart, the zigzags, waves, curves and square corners between an inch and an inch and a quarter at their closest, and the laps of the spiral exactly an inch. The shapes on the last two pages are at least an inch from each other too.
Right-handed children usually find counterclockwise easier and left-handed children clockwise, because that way the line stays in sight beside the blades rather than under them. On these sheets the scissors on each shape stand at its top, so either way starts in the same place, and the spiral turns counterclockwise from its straight start.
New printables when they go up, mostly seasonal, a few times a year.