Connect the Dots: Star
20 dots, 1 to 20
Start at the circled 1 and join the dots in order to 20, then join 20 back to 1 to finish the picture.
Created for free at puzzleandprint.com
Simple outline pictures to join dot to dot, ready to print, and a maker that numbers any of them your way.
Last updated
Number a picture your wayEach is a two-page PDF on US Letter: the dots, then the finished picture as the answer key.
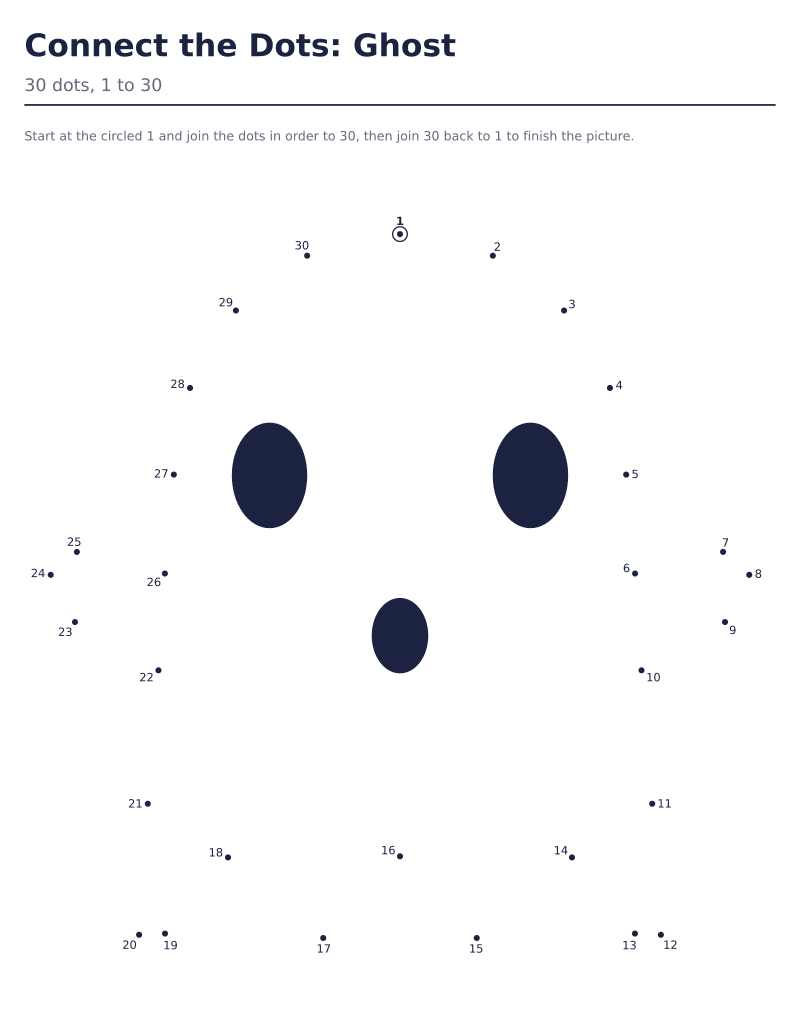 Ghost connect the dots, 1 to 3030 dots · 1 to 30 · answer keyDownload PDF ↓
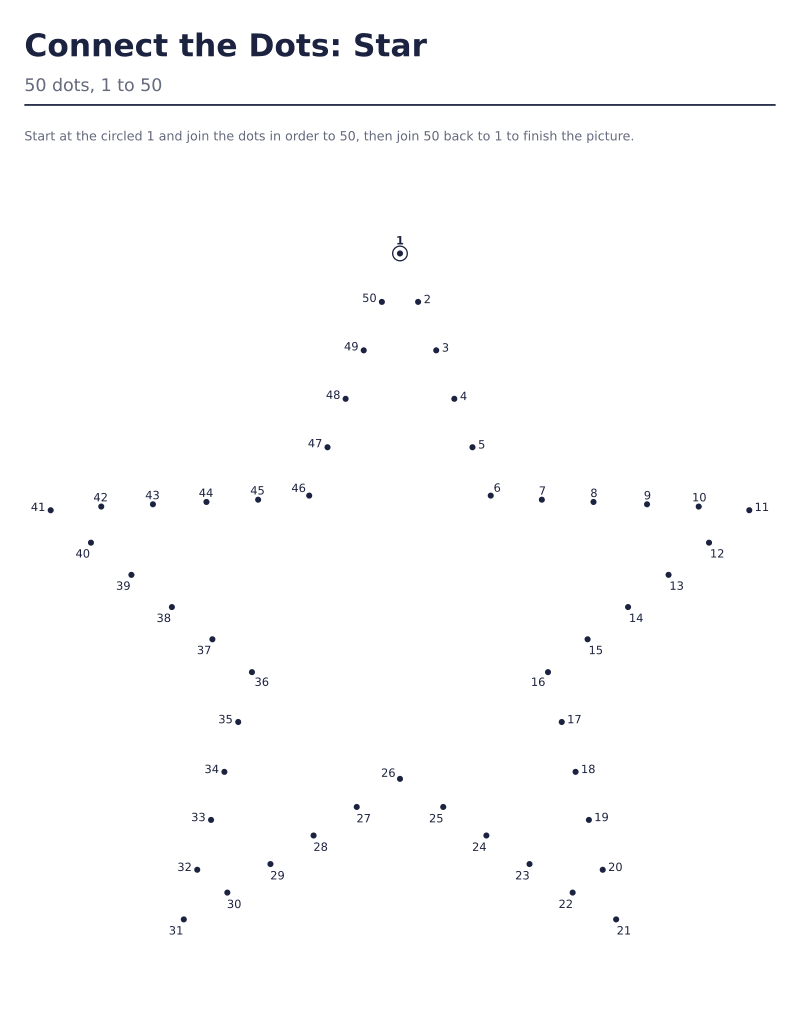 Star connect the dots, 1 to 5050 dots · 1 to 50 · answer keyDownload PDF ↓
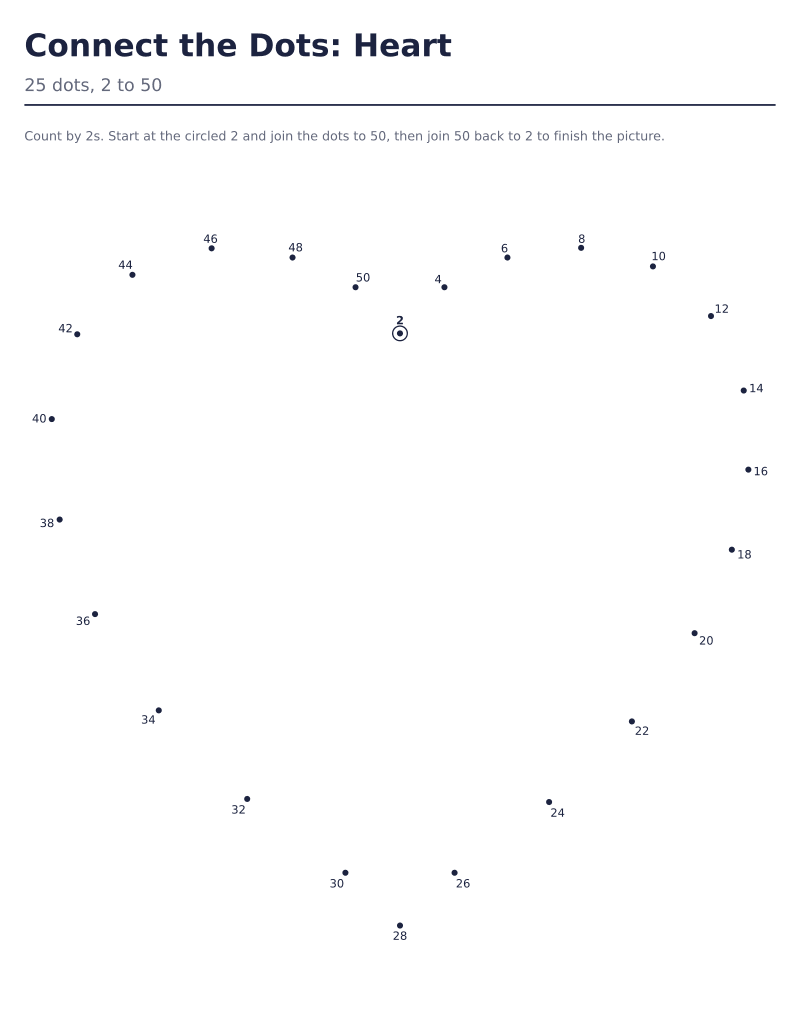 Heart connect the dots, counting by 2s25 dots · 2 to 50 · answer keyDownload PDF ↓
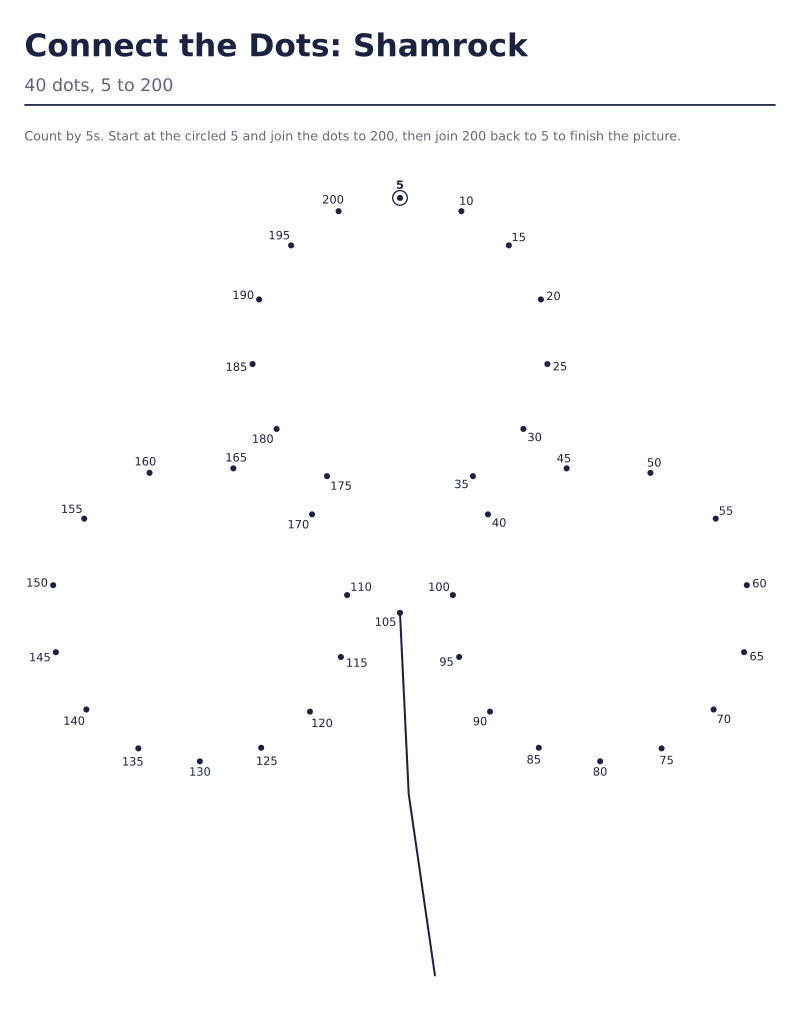 Shamrock connect the dots, counting by 5s40 dots · 5 to 200 · answer keyDownload PDF ↓
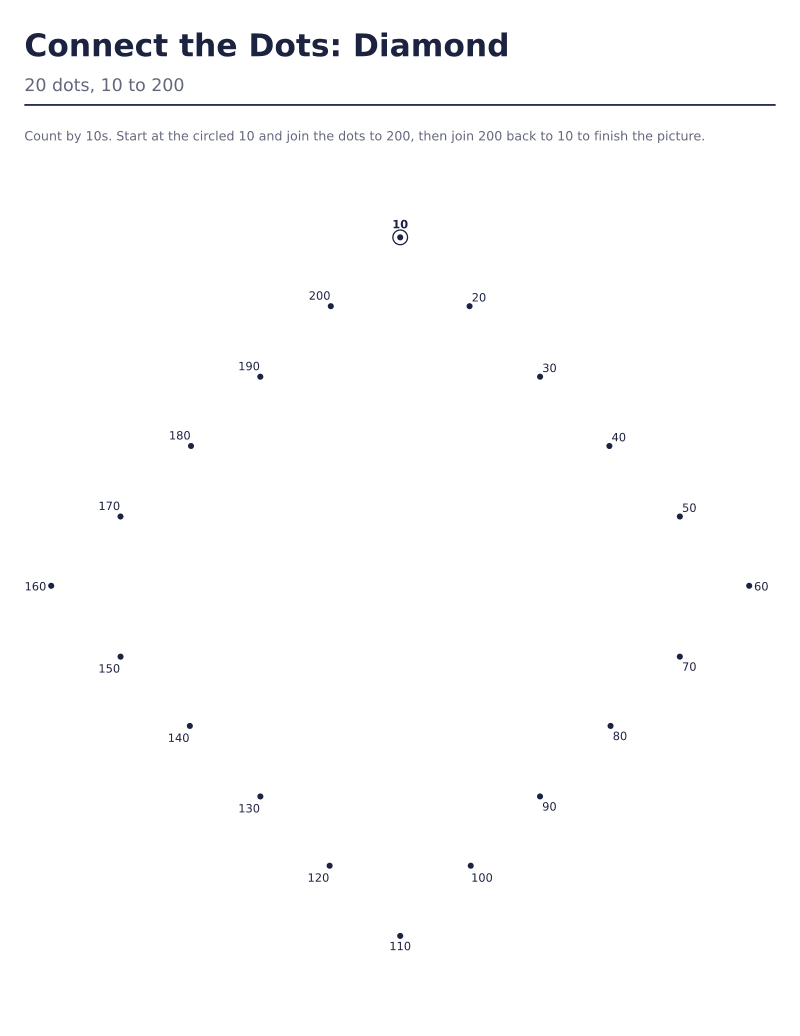 Diamond connect the dots, counting by 10s20 dots · 10 to 200 · answer keyDownload PDF ↓
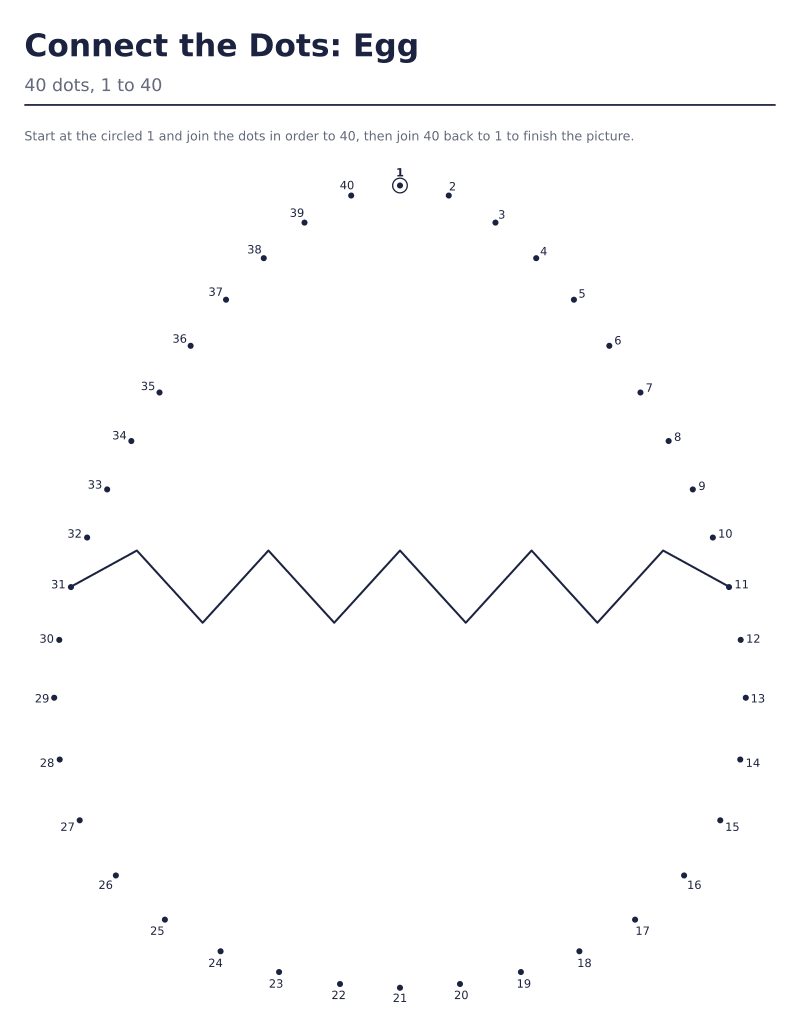 Egg connect the dots, 1 to 4040 dots · 1 to 40 · answer keyDownload PDF ↓
Every sheet here is free to print as often as you like. If one saved you time, the tip jar is on Ko-fi.
Connect the Dots: Star
20 dots, 1 to 20
Start at the circled 1 and join the dots in order to 20, then join 20 back to 1 to finish the picture.
Created for free at puzzleandprint.com
Connect the Dots: Star, Answer Key
20 dots, 1 to 20
Created for free at puzzleandprint.com
Every picture here is a simple outline: a circle, a heart, a star, a diamond, an egg, a pumpkin, a ghost, a fall leaf, a turkey, a Christmas tree, a snowman, a mitten or a shamrock. Joining the dots draws the edge of the shape as one closed line, and a few pictures print a little detail inside it, such as the ghost’s eyes and mouth or the pumpkin’s ribs. They are not the detailed dot to dot art of puzzle books for older children and adults, where hundreds of dots hide a scene. They suit children of about three to seven who are learning to count, to say the alphabet in order or to skip count, and whose pencil is still finding its way from one dot to the next.
The thirteen outlines are the same shapes the maze generator on this site carves its shaped mazes inside, traced as a line instead of filled with corridors, so a child who has done the pumpkin maze will know the pumpkin here. Each picture prints on one US Letter page in black and white, as large as the page allows, up to about 6.7 inches across or 7.7 inches tall, with a line for a name and the date at the top.
The dots go first where the outline turns. A star’s first ten dots are its five tips and five inner corners, and a heart’s cleft and point come before its curves. Whatever dots are left are spread along the outline so the gaps are as even as the shape allows. Eleven of the pictures are the same on both sides, and their dots are placed on one half and mirrored onto the other, so the two lobes of a heart match dot for dot; only at an odd count does a picture whose foot needs a dot of its own, such as the point of the heart, give its right side one dot more. At every count the maker offers, no part of a picture’s outline is more than about 6 mm from the line a child draws through its dots.
Each number is set beside its dot by a check that keeps it clear of the other numbers, of every dot and of the line the child will draw, with more room for a pencil line than the answer key’s thinner line needs. A number must also sit nearer its own dot than any other dot is to it, so there is never a question which dot a 23 belongs to. A count that the check cannot meet for a picture is not offered: the fall leaf stops at 50 dots, and the turkey starts at 40, because fewer than that cannot draw its tail feathers, head and beak.
Every picture can be labeled four ways with numbers and two with letters. Counting by 1s is the classic sheet. Counting by 2s, 5s or 10s starts at the step itself, 2, 5 or 10, and goes up by that step at every dot, so a heart of 25 dots counts by 2s from 2 to 50 and a shamrock of 40 dots counts by 5s to 200. That makes the sheet skip counting practice that checks itself: a child who skips a number sends the line somewhere the picture does not go.
Letters run from A, or from a, as far as the dots go, so a picture of 26 dots is the whole alphabet and the sheet asks for ABC order rather than counting. Ten dots run from A to J, fifteen to O and twenty to T. The turkey needs at least 40 dots, more than the alphabet has, so it is numbered only, and the snowman, which needs 25, can be lettered only at 26.
Standard print sets each dot about 1.5 mm across with 9 point numbers. Large print makes the dots about 2.5 mm across with bold 15 point numbers, for children of three to five, and offers up to 50 dots. A ring around the first dot shows where to begin, and its number is set in bold; it can be switched off for a child who should find the 1 alone.
Every sheet has one line of instructions over the picture: where to start, what to count by, and that the last dot joins back to the first. That last part is written out because nothing else on the page shows that the picture is a closed line, and the final join is the one children most often leave out. The answer key, on the page after the picture unless you switch it off, is the finished drawing: the same dots joined in order, with the numbers in gray so the line is what you see. Like every key on this site it prints plain, with no border, to save ink.
Some parts of the pictures are too thin to draw with dots: the stems of the fall leaf and the shamrock, the snowman’s stick arms and the turkey’s legs. Each is only a centimeter or two wide, and dots down both sides of one would crowd their numbers into the narrow gap between, while the line through them would come out as a thin loop rather than a stem or a stick. So those parts are printed as plain lines and the dots go around the rest. Each printed line starts exactly on a dot, so the child’s line meets it.
A few pictures also print a detail inside the outline, because an outline alone is only a silhouette: the ghost’s eyes and mouth, the pumpkin’s two ribs, the leaf’s veins, the turkey’s wing and the curve of its body in front of its tail, the mitten’s cuff line and a zigzag band across the egg. None of them is numbered, so the dots on every sheet make exactly one line.
Each page has its own ready-made pictures to print, plus the maker above opened on one of them.
Yes. Every ready-made picture on this site and every sheet the maker makes is free to download and print, as often as you like, at home or for a class. There is no sign-up, no email address to give and no watermark on the page.
Roughly three to seven. Large print sheets of 10 to 15 dots suit preschoolers who can count to ten or fifteen; 20 to 50 dots suit kindergarten and first grade; skip counting and letter sheets suit children practicing those. The pictures are simple outlines, so older children who want a challenge are better served by a detailed dot to dot book.
Because each picture is one closed outline, so the last dot is joined back to the first to finish it. The instruction line on every sheet says so, naming both dots, such as "join 30 back to 1", and the answer key shows the closing line drawn in.
No. The maker numbers its own thirteen outlines and does not take an uploaded image or drawing. What it does let you choose is the picture, how many dots, from 10 up to 100 where the picture can carry them, whether they count by 1s, 2s, 5s or 10s or run from A to Z, and the print size.
It depends on the picture. The plain shapes start at 10 dots and the heart, star, diamond and egg go up to 100 in standard print; a ghost starts at 20, a snowman at 25 and a turkey at 40, the fewest that draw their features, and the fall leaf stops at 50, where its numbers would start to crowd. The maker lists only the counts each picture offers.
Yes. The PDF is a US Letter page, and the picture sits well inside its margins, so printing it on A4 at 100% keeps every dot and number. Choosing "fit to page" in the print dialog also works and shrinks the page by a few percent.
New printables when they go up, mostly seasonal, a few times a year.